5 tips for a perfect paper model!

Building a paper model, such as our 3D Postcard, 3D Book and 3D Monuments may seem difficult, but here are 5 tips to get a perfect model within everyone’s reach.
Together we build the Cathedral of Pisa in 1: 1,000 scale from our 3D Book Tuscany.

Step 1: right tools

Get:

  • scissors,
  • cutter,
  • paper glue
  • a ruler.

Step 2: Engraving

Engrave slightly along the bend lines. Beware of the folding direction upstream or downstream. The folds downstream are engraved after cutting the piece: you can mark the edges of the line downstream with a pencil or with a very small cut, turn the piece and engrave. Be careful not to press too much, it should just be a slight incision that helps the bending.

Step 3: Cut

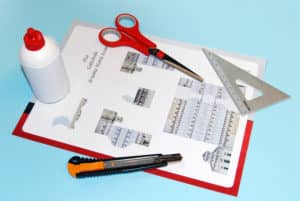
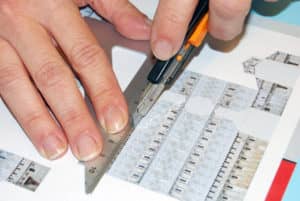
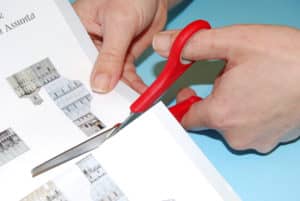
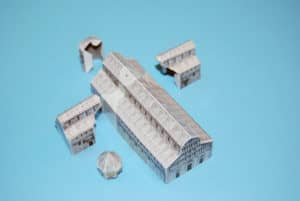
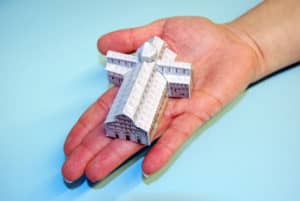
Cut out the individual pieces following the edges. Use the cutter for the most difficult edges. Warning: If there are assembly instructions in the back of the piece to be cut, take a photo first so that you can consult them calmly during the editing.

Passo 4: piega

Gently fold the pattern into the correct shape. Fold all the pieces before pasting them. Make sure that you have made all the engravings and that all the edges match each other.

Step 5: Paste

Glue the edges together and then the pieces together. When you have glued a single piece, wait for the glue to dry before gluing it back to the other pieces. When you need to make a dome, first glue the edges of the upper part, those of the roof, wait until they are dry and then glue the rest of the edges.

Ready!

Your model is ready! Before handling it, wait at least an hour to allow the glue to dry properly.